CLASS BOOK – It’s finally ready!!!

Hi Class!!

Hope you’re summer has been AWESOME so far. Mine has been super busy with awesome DIY projects/remodeling at home. I’m sorry this book has taken so long, but I decided to add extra pictures that I had of yours and it took a while to make all the pictures fit nicely on the pages. I did a lot of rearranging.

LINK TO PURCHASE: http://www.blurb.com/b/6326943-digital-photography-2014-2015

DETAILS

BOOK SIZE: Standard Landscape — 10×8 in (25×20 cm)

BOOK LENGTH: 36 pages

BOOK COST:

  • Softcover + Premium Lustre paper — $32.74
  • Hardcover (black linen cover + dust jacket) — $44.21

Hope you like it! I couldn’t make the pictures bigger than they are because of resolution. But it is a standard landscape size book, so I think the photo sizes are pretty good.

Miss you all!! I still want to do another full moon hike, but this past one didn’t work with my schedule. I will email about a future date. 🙂

MAY 6TH CLASS REVIEW: Chris Hanke, Stephanie Gonot, & Scanner Photographer

Hi Class!

FULL MOON HIKE pictures are now posted in the FULL MOON HIKE PHOTOS page (linked in the menu or in the sidebar on the right).

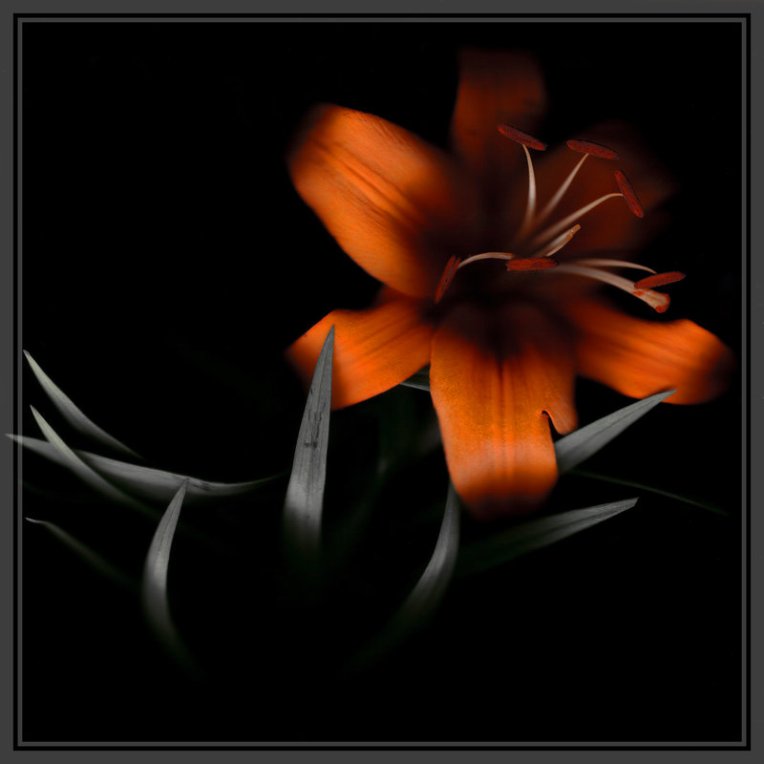
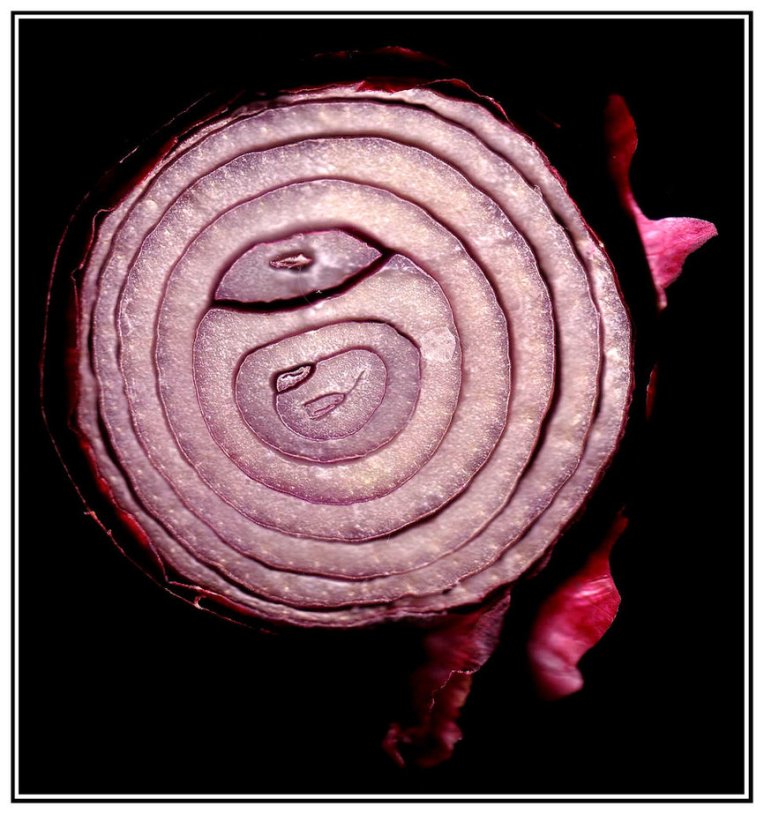
Below are pictures from this week’s lecture. Think about how you can “create” your own subjects. Photography doesn’t just have to be about what you see in front of you. You can set up your own still life shots or “modify” spaces by adding your own objects, etc. Scanner photography is another method of using your computer scanner bed as a camera. Just place object on the scanner bed and scan — Keep the lid open so you can move the objects as it scans or include yourself in the scans. You can also hold black or colored posterboard over the open scanner as a “background” for your scanned image.

HOMEWORK – Choose one or more of these options: 

  • Re-shoot pictures from earlier in the semester (or last semester) that you think you can improve or have better ideas for now.
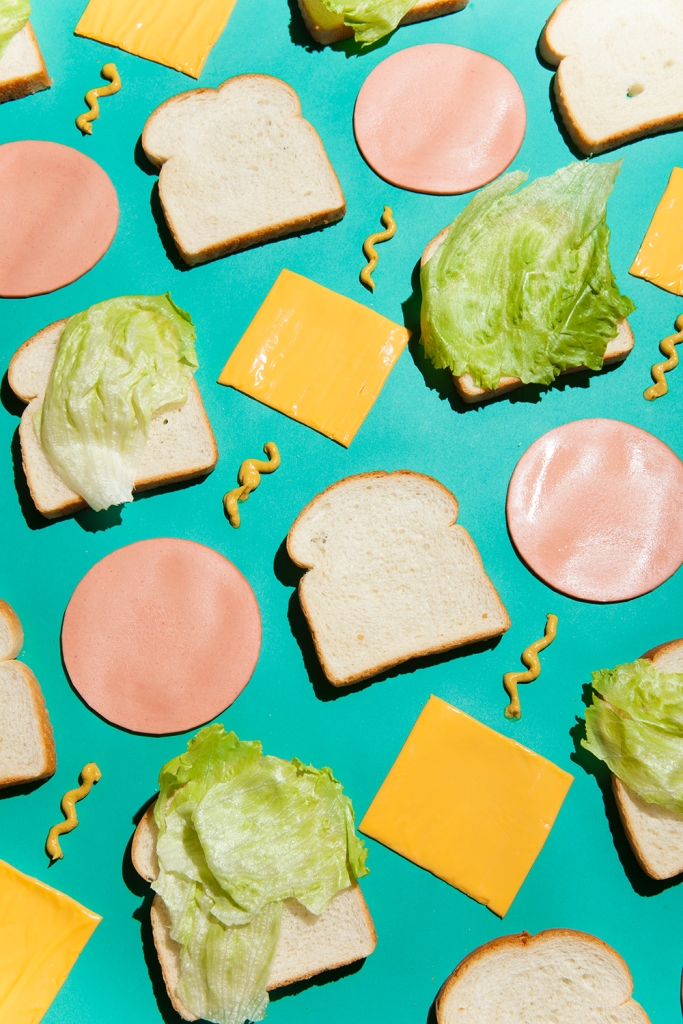
  • Create your own subject. A simple idea would be the Stephanie Gonot paper setup – just cut up and fold paper and make a picture out of it. (see picture below)
  • Experiment with scanner photography.
  • Upload some awesome pics that you took during our walk on Wednesday.

See you Wednesday! 🙂

CHRIS HANKE (USC Grad)

ChrisHanke ChrisHanke2 ChrisHanke3

10_spillsjpg-6 10_spillsjpg-15 15_hankechrisamaptoguideyoubackweb 35_hankechriseverythingfolding

STEPHANIE GONOT (Artist/Photographer who got hired through people seeing her work on Instagram)

stephaniegonot stephaniegonot2 stephaniegonot3 stephaniegonot4 stephaniegonot5 stephaniegonot6
stephaniegonot8 stephaniegonot9 stephaniegonot10 stephaniegonot11 stephaniegonot12 stephaniegonot13 stephaniegonot14 stephaniegonot15 stephaniegonot16 stephaniegonot17 stephaniegonot18 stephaniegonot19 stephaniegonot20

SCANNER PHOTOGRAPHER (Various internet sources)

1082099267 (1) 1082099368 1082099449 Dissection_by_Konjekto Scan 3 Scanner_Photography_IV_by_Konjekto Scanner_Photography_VII_by_Konjekto slitscanphoto_01

Full Moon Hike Information

Hi Class!

This Sunday (May 3rd,2015) is our “unofficial” FULL MOON HIKE field trip. I’m really excited to take pictures of the moon with you guys 🙂

Here’s all the information you will need to participate:

A little basic information:

Bring:
– water & snacks (who hikes without snacks?)
– Flashlight / Headlamp
– jacket if you get cold at night sitting on mountains
– a blanket or towel to sit on
– some bug spray if you’re tick-phobic like me
– a camera & tripod, telescope, Hubble… whatever you wanna use to look at the moon
– your fun self 😀

FYI: Hike is about 1-1.25 miles from Canyon/Oakglen 

 Approx. a 45 min/1 hour hike to the top at a medium pace (its all uphill)… or shorter if you’re fast and amazing.

!!!!! RSVP !!!!! by emailing me so I will be expecting you and make time for you to take pictures.

I will be parking on Canyon and starting to walk up to the trail head at 6pm sharp. Moonrise is at 7:30pm. Full moon display is at 8:45. I wanna get there in time to set up without rushing. Moonrise can often get you better pics than full moon in my opinion. I want to catch the moon coming over the ridge of the mountains if I can. Feel free to meet me there anytime between 7:30-9:00pm 🙂

A little background info:

  • Our hike is taking place AFTER PARK HOURS (Monrovia Canyon Park closes at 5:00pm – GATE closes at that time as well). I spoke with the park rangers today about this — The park’s PEDESTRIAN GATE is kept open 24/7 but the VEHICLE GATE will close at 5pm. We will not “get in trouble” for being in the park after it is closed. He did say that there are no rangers in the park after 5pm, so they are not liable if someone gets hurt or lost… basically, we hike at our own risk.
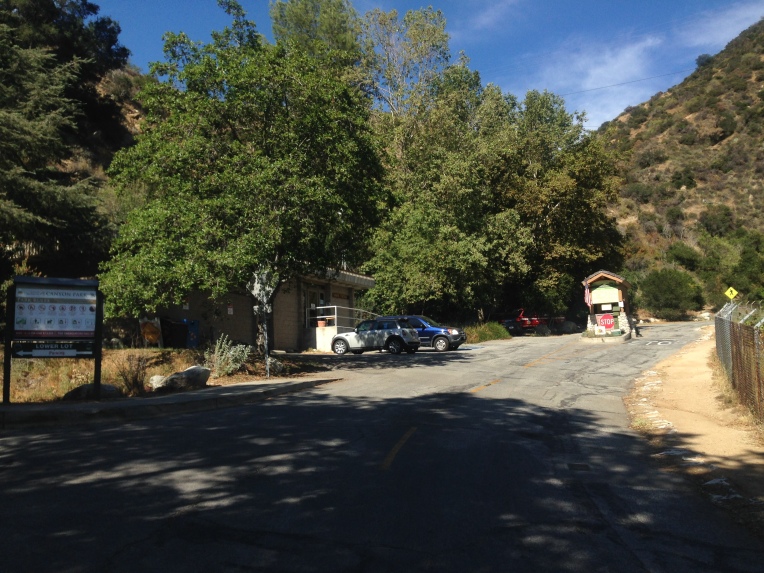
  • We will be using the Cunningham Overlook Trail which is located inside Monrovia Canyon Park and starts about 100 feet up the road past the ranger station. Here’s a satellite picture of the trail:

mcp_overlook_trail

DIRECTIONS:

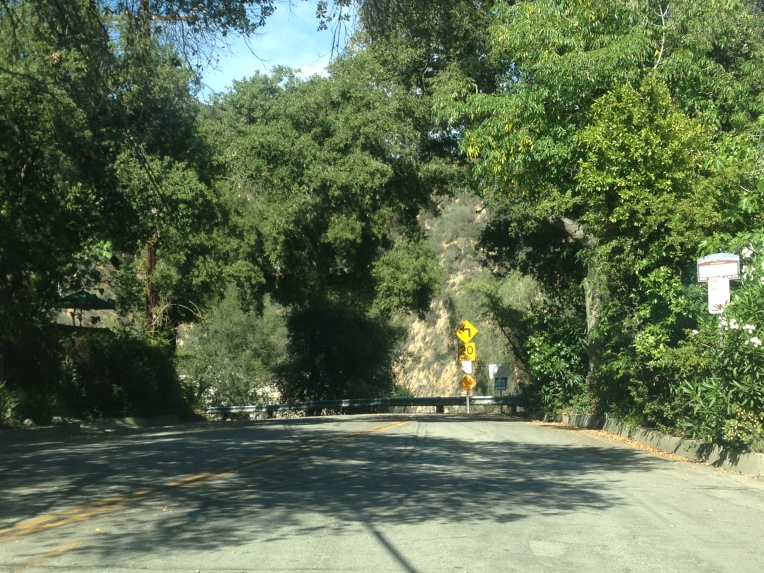
  • Go NORTH on Canyon Blvd. and PARK ON THE STREET near Ridgeside Drive. Watch out for “No Parking” signs.
  • Canyon Blvd. forks at Oakglade Dr./Canyon Blvd. Stay right at the fork to continue up Canyon Blvd.
photo 3
Fork in the road at Oakglade and Canyon. Turn RIGHT to walk up Canyon.

photo 4

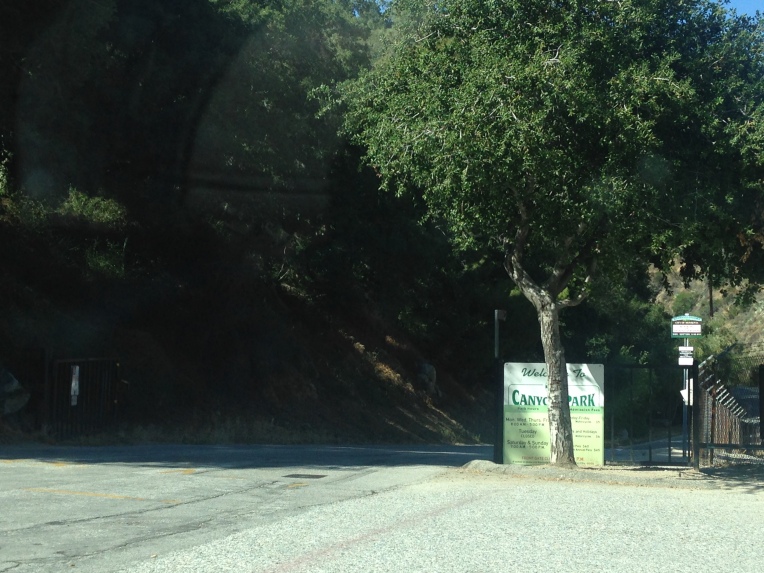
  • Walk up CANYON BLVD. Go through pedestrian gate. Vehicle gate will be closed after 5pm.

Canyon Map Directions

photo 2
View of Monrovia Canyon Park gate. Notice PEDESTRIAN GATE ON THE LEFT.
  • Continue walking up Canyon Blvd. and you will see the Ranger Station on your left.

photo

  • The Bill Cull Trail is about 100 feet past the Ranger station. Its directly across the road from the pedestrian crossing sign. Once you get under that shady tree on the left, you’ll see signs marking the Bill Cull Trail. See pictures below.

photo 1 (1)

photo 3 (1)

Once you get to the Bill Cull Trail signs, go left (the signs are at a kind of fork in the trail). photo 4 (1)

Go this way:

photo 5

DON’T go this way: 

photo 1

  • Continue on the Bill Cull trail until you get to the Cunningham Overlook Trail / Bill Cull Trail junction. This is noted on the trail picture above (first picture on this post) and on the trail map below. Proceed onto the CUNNINGHAM OVERLOOK TRAIL. See you at the top!! 🙂

Monrovia Canyon Map002

Photographers: Andreas Gursky, Jeff Wall, Ann Hamilton & Baltimore Photojournalism

Andreas Gursky Information and Photos:

http://www.amusingplanet.com/2012/03/large-scale-urban-photography-by.html

http://agonistica.com/andreas-gursky/

https://sandrakontos.wordpress.com/2013/01/11/277/

Jeff Wall

http://artblart.com/tag/jeff-wall-after-invisible-man-by-ralph-ellison-the-prologue/

Ann Hamilton:

http://www.annhamiltonstudio.com/

http://www.annhamiltonstudio.com/projects/armory.html

http://www.annhamiltonstudio.com/projects/privationandexcesses.html

http://www.annhamiltonstudio.com/prints/reflections.html

http://www.annhamiltonstudio.com/prints/face_to_face.html

Ruth Fremson:

http://lens.blogs.nytimes.com/2013/12/12/in-brooklyn-photographing-an-invisible-child/

Robert Stolarik (Freelance NY Times Photographer)

http://www.nypress.org/ http://www.robertstolarikphotography.com/RSP.htm

http://www.nytimes.com/2015/04/29/us/baltimore-riots.html?_r=0#slideshow/100000003654333/100000003655317

baltimore - robert stolarik

Baltimore Riots – Special Photos

Bishop Martese Cromartie, whose photo of a little boy giving Baltimore police water went viral, will continue the cleanup effort on Wednesday.

22489_10152833927267894_3672958437293805432_n

281E643100000578-3059967-image-a-2_1430267043490

10 Most Expensive Photographs in the World:

(Second photo is kinda scary. So close your eyes while you scroll past it. Its not “real” but its still yucky.)

http://www.lostateminor.com/2013/07/25/10-most-expensive-photographs-in-the-world/

WEEK 28 – Product Photography & Stock Photos

Hi Class!

I’m so sorry for this very late blog post! I was out of town this weekend and I had no wifi where I was staying (mountains above San Diego). The only internet I had was on my phone and it was very limited. I had meant to post this on Friday, but didn’t know there would be no internet.  😦

Here’s a little review from last week’s class….

WHITE MATTE PAPER (POSTER BOARD) SETUP

http://www.shopify.com/blog/12206313-the-ultimate-diy-guide-to-beautiful-product-photography

TRANSPARENT OBJECT W/TRACING PAPER BACKGROUND

http://www.handmadeology.com/studio-quality-product-photography-with-a-12-set-up/

Example of transparent object with white background VS tracing paper background effect:

images Moroccanoil_Treatment_100ml_1392288768

HOW I BUILT MY FIRST PHOTO STUDIO … (article)

http://petapixel.com/2015/04/20/how-i-built-my-first-photo-studio-over-the-course-of-three-months/

VSCO Lightroom Presets for FREE

http://petapixel.com/2015/04/21/vsco-film-00-is-a-free-starter-pack-of-film-emulation-presets-for-lightroom/


EXTRA LINKS THAT ARE AWESOME:

DIY LIGHTBOX FOR PRODUCT PHOTOGRAPHY

DIY LIGHTBOX FOR CHEAP – $10

Smartphone Product Photography

http://www.shopify.com/blog/15163633-how-to-capture-high-quality-product-photos-with-your-smartphone

Product Photography & Sales

http://www.shopify.com/blog/4468702-is-your-awful-product-photography-losing-you-sales

PHOTO EDITING TOOLS – FREE AND PAID OPTIONS

http://www.shopify.com/blog/14263381-18-free-and-paid-online-photo-editor-tools-for-gorgeous-diy-product-photography

STOCK PHOTOGRAPHY – HOW TO MAKE MONEY DOING THIS:

http://www.photographyvox.com/a/product-photography/

http://www.photographyblog.com/articles/how_to_take_successful_stock_photos/

http://photographyspark.com/guide-how-to-sell-stock-photography/

http://photography.tutsplus.com/articles/15-stock-photography-sites-to-sell-your-photos-for-beginners-and-pros–photo-1189

http://www.thepennyhoarder.com/selling-stock-photography/

http://www.istockphoto.com/sell-stock-photos.php

http://www.steves-digicams.com/knowledge-center/the-3-best-sites-to-sell-stock-photographs.html#b

http://www.lightstalking.com/7-basic-tips-that-will-make-your-stock-photographs-sell-like-hotcakes/


HOMEWORK:

– Upload ONE or more product photos you took this past week OR email them to me 🙂

– REMINDER: MAY 20th – Guest Speaker Joseph Robbins

WEEK 27 – FINISHING UP GREEN SCREEN

Hi Class!

This week we finished up our GREEN SCREEN shooting. Please upload your finished green screen image to your online portfolio OR email it to me. Some of you may be picky about what goes on your portfolio site (totally understandable), so if you’re not crazy about your green screen project, just email it to me.

By the way — YOUR PHOTOS WERE SO GOOD THIS WEEK! I took so long showing them to you all because I was so STUNNED by how good they were! You have all improved IMMENSELY over the course of the year! I’m so proud of you all!! Trust me… if I wasn’t impressed, I wouldn’t compliment you like this. 😉

NEXT WEEK

We I will be demonstrating an easy DIY set-up for product photography that can get you professional-looking results. How do I know it will get you amazing results? Because I just used it for my own freelance job! For about $7, you can set up a similar shoot at home.

PLEASE BRING TO CLASS:

  • Your CAMERA / DEVICE
  • An OBJECT / PRODUCT you’d like to photograph. This can be a flower, wrist watch, necklace, doll, toy, sunglasses, perfume bottle, etc. anything that is less than 1 ft. long/wide/tall.

See you all next week!

HEAD SHOTS & PORTRAITS

Hi Class!

Hope you all had an awesome Spring Break!

This week, I intended to finish up our green screen project and bring the green screen for anyone who didn’t use it yet…. but then I thought it was going to rain, so I didn’t bring it. So, instead, we’re going to learn about head shots and how to make awesome portraits with our devices. We tried to do this at the beginning of the school year, but now that you have more photo knowledge and experience, we’re gonna try it again 🙂

What Makes A Good Headshot?

First – some important qualities of a headshot:

  • It should quickly convey a personality and demeanor
  • It should ideally look like a slightly better version of yourself in real life.
  • It should present you as YOUR BEST SELF.
  • Head shots are used to easily identify candidates for modeling/acting jobs and for business purposes such as on business cards, conference brochures, websites, blogs, etc.

How to take a good headshot with your device:

  • Camera/phone should be 4-5 feet away from the subject to avoid image DISTORTION (wide angle of phone cameras and tablets can distort facial features when placed too close to the subject’s face).
  • Look for natural light and even shade — NO DIRECT SUNLIGHT.
  • Have your subject stand in a doorway, or in an open garage near the open door so light is on their face but the background is dim. OR look for an alley or use a tree or simple plants that are at least a few feet behind your subject (or blur them out when editing).
  • FOCUS ON THEIR EYES and face. Their face should be well lit and have no harsh shadows.
  • Background should not be “busy” or distracting.
  • SNAPSEED EDITING OPTIONS:
    • Use CENTER FOCUS to brighten their face while leaving the background a bit darker. CENTER FOCUS has a BRIGHTNESS tool that you can use to do this. Only use this tool if necessary.
    • Use TILT SHIFT to blur the background.
    • Use a SHARPEN tool to sharpen their eyes a bit.
    • Color balance should not be too cool on their face — you want them to look healthy, not dull or dead.

HOMEWORK

  • At least ONE headshot uploaded to your online portfolio.
  • Go back and choose your best & favorite photos from over the course of the whole school year and upload them to your online portfolio so you have them all in one place.
  • I would like to encourage you to PRINT your best/favorite photos. I am researching the best/cheapest print options for photo books. It would be really good to print a book of your best photos from over the course of the year. TRUST ME. I wish I did this when I was in school! 🙂

Common Problems With Headshots

Example of an ineffective headshot

Example of an ineffective headshot

Allow me to point out some issues;

  • The background is too busy and doesn’t make his face stand out
  • There are funny shadows in his face, causing it to be dark
  • It’s bright outside, which is causing him to squint his eyes
  • His head is cropped dead center in the photo – not the best design composition
  • There was likely not any intention behind the “wardrobe” (just a t shirt).
  • It is not cropped as a square (the dimensions of most social profile photos) and thus, you’re left to crop them on each platform, leaving it inconsistent and unreliable

[Source]

Some links to DIY head shot articles — that aren’t the greatest, but still a bit helpful:

http://paperandfox.com/iphone-headshots/

http://sandracoan.blogspot.com/2011/09/iphone-headshots.html

http://digital-photography-school.com/how-to-take-the-perfect-headshot-six-tips/

http://www.elliepetrov.com/take-your-own-headshot-with-an-iphone/

http://inthenext30days.net/adventures-pinterest-take-professional-headshots-iphone/

http://www.sitebuilderreport.com/blog/how-to-take-your-own-professional-headshot-with-an-iphone

Some examples of GOOD HEAD SHOTS:

Notice these common factors:

  • blurred, subtle background that CONTRASTS the person’s hair or face (dark hair subjects have light background and light hair subjects have dark backgrounds)
  • Its all about the EYES!
  • You can soften/blur the skin when editing, but leave the eyes sharp and crisp.
  • Faces are bright and have hardly any shadows.

WEEK 25 – Using Green Screen Apps & Studio Inspiration

GREEN SCREEN by Pocket Bits LLC

1. Open app

2. Tap on green “TOP IMAGE” –> then click on Library

3. Choose your green screen photo.

4. Then click on “BACKGROUND” –> then click on Library

5. Choose your background photo.

6. Use the BRUSH tool at the top menu bar  and choose “ERASE” at the bottom menu bar. ERASE away all the green you don’t want. You can use the UNERASE option in case you erase too much.

7. Use the “Move” button on the bottom menu bar to position your green screen image where you want it on your background.

8. Click the RED button on the top menu bar (this is a drop down menu with lots of functions). Choose SAVE. You’re all done!

photo

HOW GREEN SCREEN REALLY WORKS –> A REALLY FREE APP:

Download SceneQ

1. Open the app.

2. Press GREEN SCREEN button on the bottom menu bar.

3. Find a subject. The green  in your picture will automatically fill with a blue cloudy sky.

4. Use Screen Capture to take the picture.

Taking a picture of a clear green plastic.. kinda crazy. It looks like TV static. photo 1photo 2

*** If you’re not liking the apps, feel free to send me your green screen picture and your background picture via EMAIL. I will put them into Photoshop and take out the green background for you.

GOOD LINKS:


FUN & INSPIRING STUDIO STUFF – JOEY LAWRENCE